Movavi Video Editor Plus:
If you’re looking for a simple yet feature-packed tool to create stunning videos, Movavi Video Editor Plus should be at the top of your list. Whether you’re a seasoned video editor or a complete beginner, this software offers a user-friendly interface paired with powerful editing tools that make video creation a breeze. In this guide, we’ll explore everything you need to know about Movavi Video Editor Plus, from its features and benefits to how you can use it to enhance your video projects.
With my own experience using Movavi, I can confidently say that it strikes a perfect balance between functionality and ease of use, making it an ideal choice for both professional and casual video editors alike.
Why Choose Movavi Video Editor Plus?
What Makes Movavi Stand Out?
Movavi Video Editor Plus is a versatile software that allows users to easily create professional-quality videos. Here are some key reasons why Movavi is a top choice for video editing:
- User-Friendly Interface: Even if you’re new to video editing, Movavi’s clean and intuitive interface makes it easy to start creating videos right away.
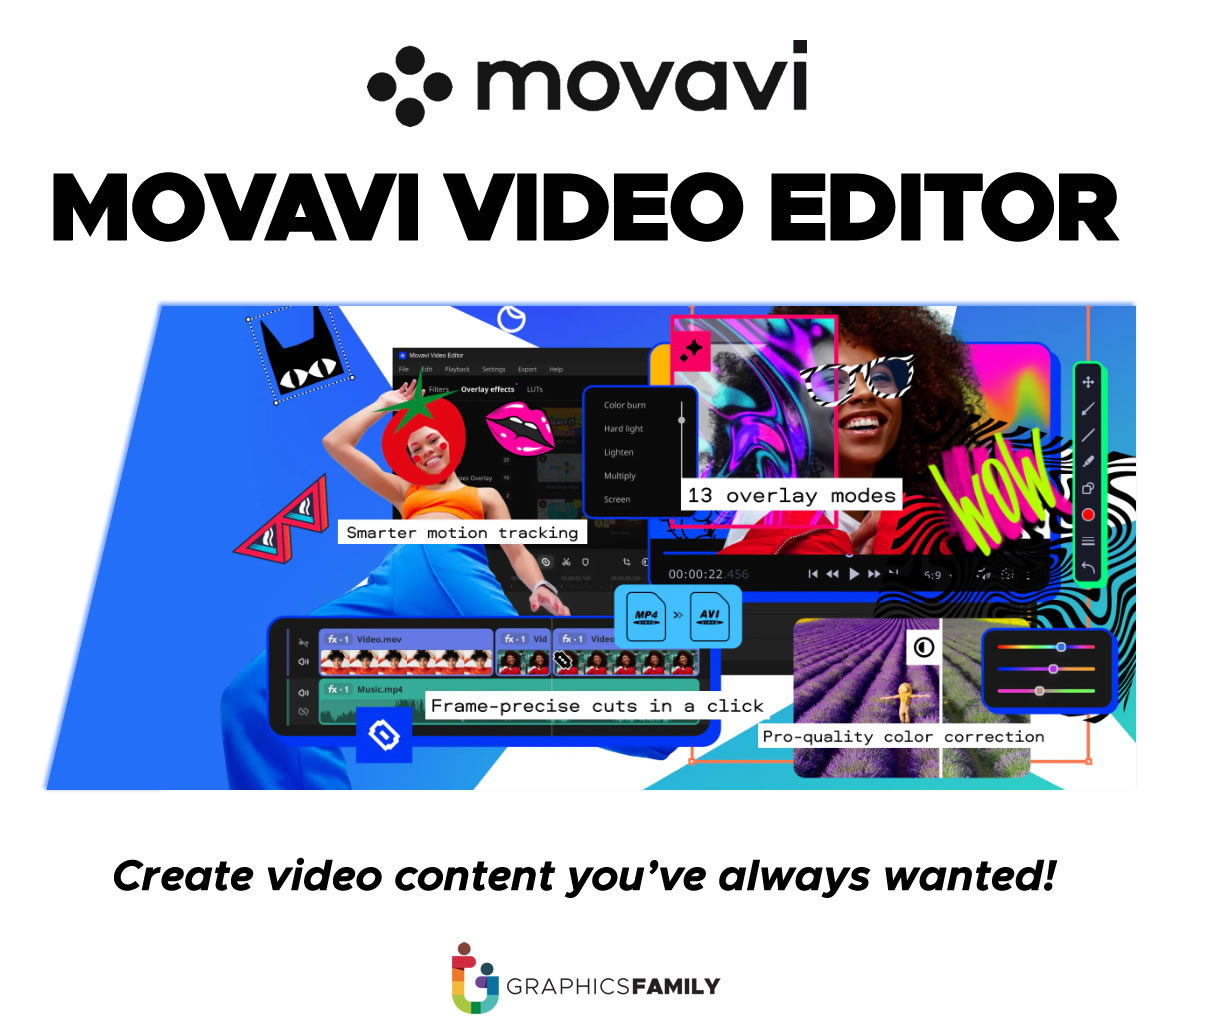
- Advanced Editing Tools: From basic trimming and cropping to more advanced features like chroma key, transitions, and motion tracking, Movavi offers a wide range of tools to polish your videos.
- Pre-Built Effects and Templates: Movavi Video Editor Plus comes with built-in effects, filters, and transitions that you can apply instantly to give your videos a professional touch.
- Fast Rendering: Movavi is optimized for quick rendering, ensuring that your videos are processed and ready to share in no time.
Features of Movavi Video Editor Plus
1. Simple Drag-and-Drop Interface
Movavi’s drag-and-drop interface allows you to upload your video clips, images, and audio files effortlessly. Simply drag the files into the timeline and begin editing.
2. Wide Range of Video and Audio Effects
Movavi offers a comprehensive selection of effects, transitions, and filters. Whether you’re creating a home video, vlog, or a short film, these effects can enhance the visual appeal of your content.
Some of the effects include:
- Slow motion and reverse playback
- Pan and zoom effects
- Color adjustments
- Stylized filters (like vintage, black & white, etc.)
- Chroma key (green screen)
3. Built-In Media Library
Movavi Video Editor Plus provides access to a robust media library where you can find:
- Pre-built video clips
- Background music
- Sound effects
This is especially useful for users who want to add royalty-free music and sounds to their projects without looking elsewhere.
4. Titles and Transitions
Adding professional-looking titles and smooth transitions can take your video to the next level. Movavi offers:
- Animated text overlays
- Stylish intro and outro templates
- Dozens of customizable transitions to help your video flow seamlessly from one scene to another.
5. Advanced Tools
For users looking for more than just basic editing, Movavi offers advanced features, including:
- Motion tracking: Follow an object or person within a video frame with this precise tool.
- Picture-in-picture: Add a smaller video on top of a larger one, perfect for tutorials or reaction videos.
- Audio editing tools: Adjust volume levels, remove background noise, and sync audio with video with ease.
Step-by-Step Guide to Using Movavi Video Editor Plus
Step 1: Install and Launch Movavi Video Editor Plus
Start by downloading Movavi Video Editor Plus from the official website. The installation process is simple and straightforward. Once installed, launch the application to begin your editing project.
Step 2: Import Your Media
Click the “Add Media Files” button to import video clips, images, and audio files into the software. Alternatively, you can drag and drop files directly into the timeline.
Step 3: Trim and Arrange Your Clips
Arrange your clips on the timeline in the order you want them to appear. Use the trimming tool to cut unnecessary parts of your video.
Step 4: Add Transitions, Effects, and Titles
Movavi offers a variety of transitions and effects. Go to the “Transitions” tab to add smooth transitions between scenes, and use the “Effects” tab to apply filters or video effects. To add text, navigate to the “Titles” tab.
Step 5: Edit Your Audio
Adjust the audio in your project using the built-in audio tools. You can reduce background noise, add background music, or adjust the volume of individual audio tracks.
Step 6: Export Your Video
Once you’re satisfied with your video, click the “Export” button. Movavi supports multiple formats, so you can choose the format that best suits your needs (MP4, AVI, WMV, etc.). You can also adjust the resolution and quality settings before exporting.
Tips for Using Movavi Video Editor Plus Effectively
1. Make Use of Keyboard Shortcuts
Learn the keyboard shortcuts for common actions like splitting clips, undoing edits, or applying effects. This will speed up your workflow significantly.
2. Utilize Pre-Made Templates
If you’re short on time or inspiration, take advantage of Movavi’s pre-made templates for intros, transitions, and text overlays.
3. Preview Your Work
Constantly preview your video while editing to ensure everything flows smoothly and there are no unwanted cuts or transitions.
4. Experiment with Different Effects
Movavi offers a range of creative effects that can completely change the look and feel of your video. Don’t be afraid to experiment and see what works best for your project.
Frequently Asked Questions (FAQs)
1. Is Movavi Video Editor Plus suitable for beginners?
Yes, Movavi Video Editor Plus is designed with both beginners and professionals in mind. Its intuitive interface allows beginners to create quality videos without a steep learning curve.
2. Can I use Movavi on both Windows and Mac?
Yes, Movavi Video Editor Plus is available for both Windows and Mac operating systems.
3. Does Movavi support 4K video editing?
Yes, Movavi Video Editor Plus supports 4K video editing and rendering, ensuring your high-definition videos look sharp and professional.
4. Is there a free version of Movavi Video Editor Plus?
Movavi offers a free trial version of Video Editor Plus, but it has limitations, including watermarks on exported videos. To access the full range of features, you will need to purchase the software.
5. What formats does Movavi Video Editor Plus support?
Movavi supports a wide range of video and audio formats, including MP4, AVI, MOV, WMV, MP3, and more. This ensures compatibility with most devices and platforms.
Conclusion
Movavi Video Editor Plus is a versatile and user-friendly software perfect for both beginners and advanced users. With its vast range of editing tools, pre-built templates, and easy-to-navigate interface, creating professional-grade videos has never been easier. Whether you’re looking to enhance your video editing experience or just getting started, Movavi provides all the tools you need to create stunning videos that captivate and impress.
By utilizing Movavi’s features effectively and experimenting with different tools, you can create dynamic, engaging videos that meet your needs. If you’re serious about video editing, Movavi Video Editor Plus is a powerful and accessible tool that should be part of your software collection.